You know that moment when your toddler is mid-meltdown in the cart at Target, or losing it because you cut their toast wrong? Yeah. Me too. That’s exactly why I started making DIY sensory bottles — and honestly, I wish someone had handed me this idea two tantrums into parenthood.
A sensory bottle is basically a snow globe your kid can’t break, spill, or eat. You fill a clear bottle with water, glitter, beads, or little treasures, glue the lid shut, and hand it over. They shake it, stare at it, and — this is the magic part — calm down while they watch everything swirl and settle. No mess. No cleanup. No tiny rice grains in your heating vents (looking at you, sensory bins).
Table of Contents
Why Sensory Bottles Actually Work
There’s a real reason these things feel like magic. Watching glitter drift slowly to the bottom of a bottle gives your toddler something to focus on while big feelings pass — it works a lot like deep breathing does for us. The American Academy of Pediatrics has great guidance on helping young children handle stress, and giving them a calming tool they can hold is one of the simplest places to start.
They’re also a sneaky little science lesson. Slow-falling glitter, floating pom-poms, waves that roll — your toddler is learning about how things move long before they have words for it.
And here’s the part I love most: sensory bottles are the rare sensory activity that’s truly mess-free. If your little one still mouths everything (mine did until well past two), bottles let them explore glitter, beads, and tiny treasures safely sealed behind plastic.
How to Make DIY Sensory Bottles (The Base Recipe)
Every bottle on this list starts the same way. Master this once and you can riff forever.
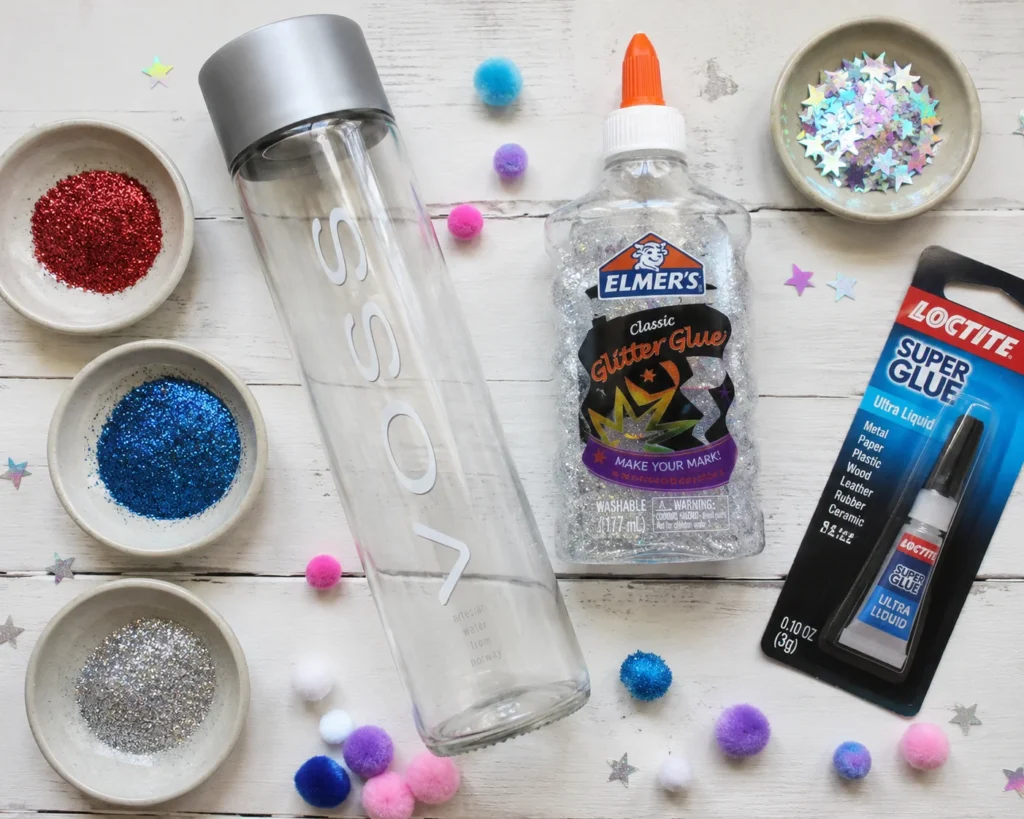
You’ll need:
- A clear plastic bottle with a tight lid — smooth-sided ones work best. Empty VOSS water bottles are the cult favorite for a reason (sturdy, crystal clear, perfect toddler-hand size), but any smooth bottle from your recycling bin works
- Warm water
- Clear glue or glitter glue (Elmer’s clear glitter glue is the workhorse here — it slows the glitter down so it falls dreamily instead of sinking in two seconds)
- Your fillers — glitter, beads, pom-poms, tiny toys
- Super glue for the lid (non-negotiable — more on that below)
The method: Fill the bottle about a third with glue, top it off with warm water, add your fillers, then shake and test. Too fast? Add more glue. Too slow and gloopy? Add more water. When you love it, dry the threads completely and super glue that lid on.
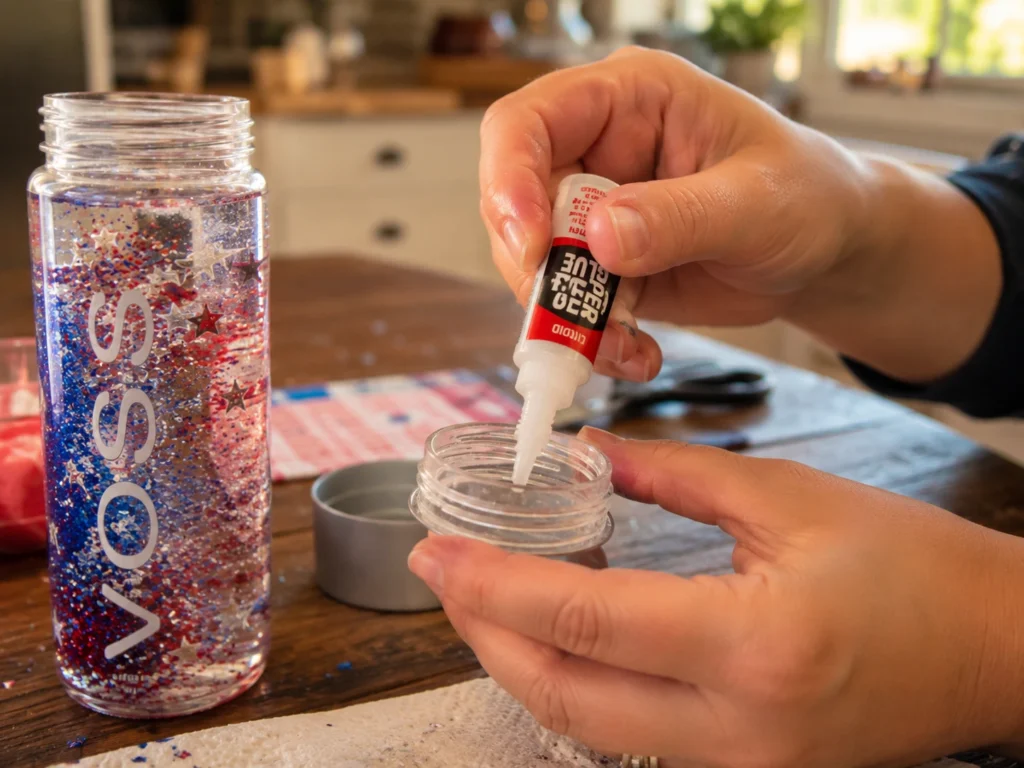
True story: my first bottle skipped the super glue step. My daughter figured out the lid in under ten minutes, and I spent that evening blotting blue glitter water out of the couch cushions. Glue. The. Lid.
Now for the fun part — five DIY sensory bottles to actually make.
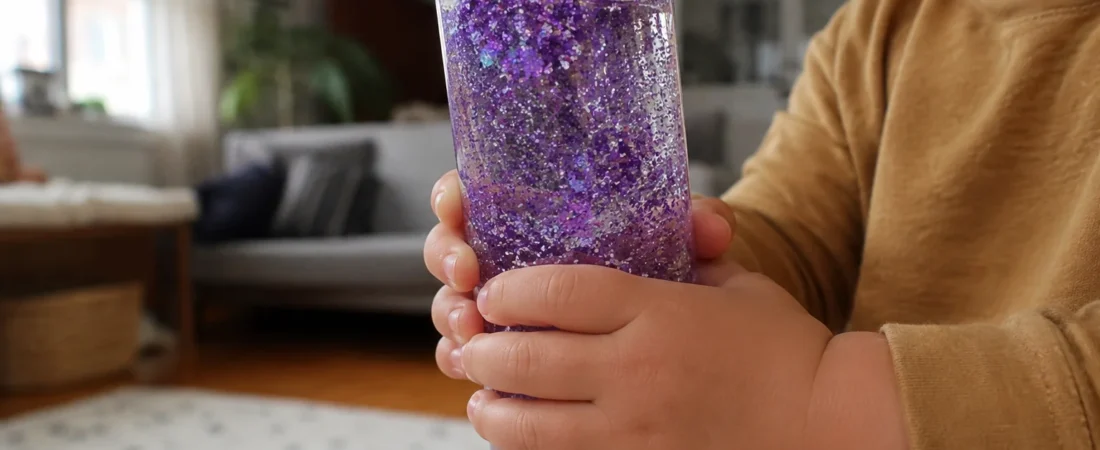
1. The Classic Glitter Calm-Down Bottle
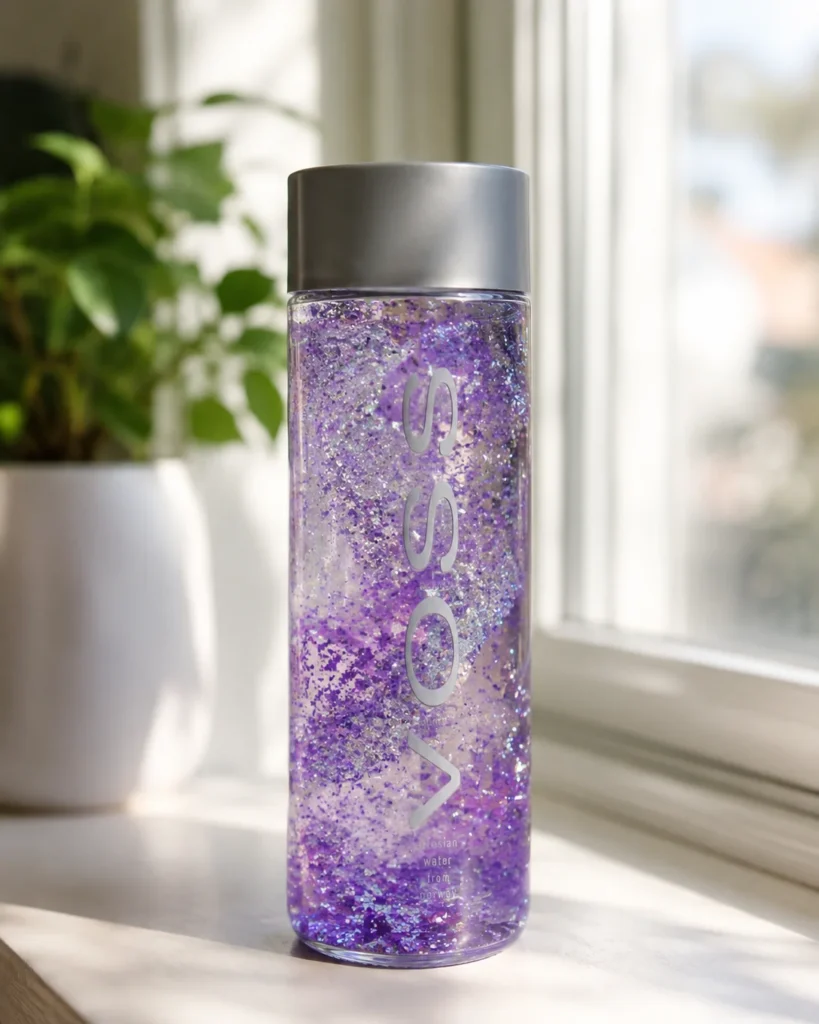
This is the one you’ve seen all over Pinterest, and it earns the hype. Fine glitter in one or two colors, clear glue, warm water, maybe a drop of food coloring. When your toddler shakes it, the glitter storms around, then settles slowly — about 30 to 60 seconds if your glue ratio is right.
That settle time is the whole point. “Let’s watch the glitter rest” has genuinely shortened tantrums in our house. Not eliminated — let’s be honest — but shortened. I’ll take it.
Make it easier: keep this one in the car or diaper bag. It’s saved me in more waiting rooms than I can count.
2. Ocean Waves in a Bottle
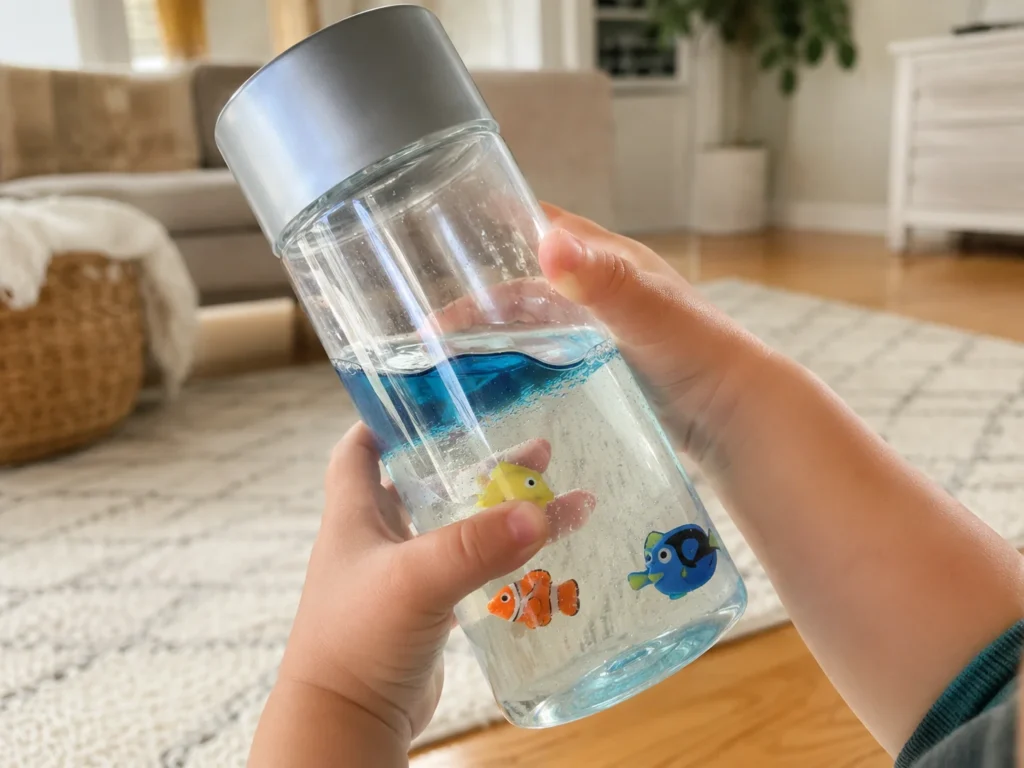
Fill the bottle halfway with water plus blue food coloring, then top it off with baby oil. The two liquids never mix, so when your toddler tips the bottle side to side, they get rolling waves. Add a tiny plastic fish or two and you’ve got an aquarium they can hold.
This one’s the slow-burn favorite at our house — less flashy than glitter, but my two-year-old will tilt it back and forth on the floor for a solid stretch of quiet play. If your kiddo loved water play this summer, this is the rainy-day version — and it pairs perfectly with the ideas in my taste-safe water play roundup.
Heads up: oil bottles are the messiest if they ever leak, so double-check that lid seal.
3. The I-Spy Treasure Bottle
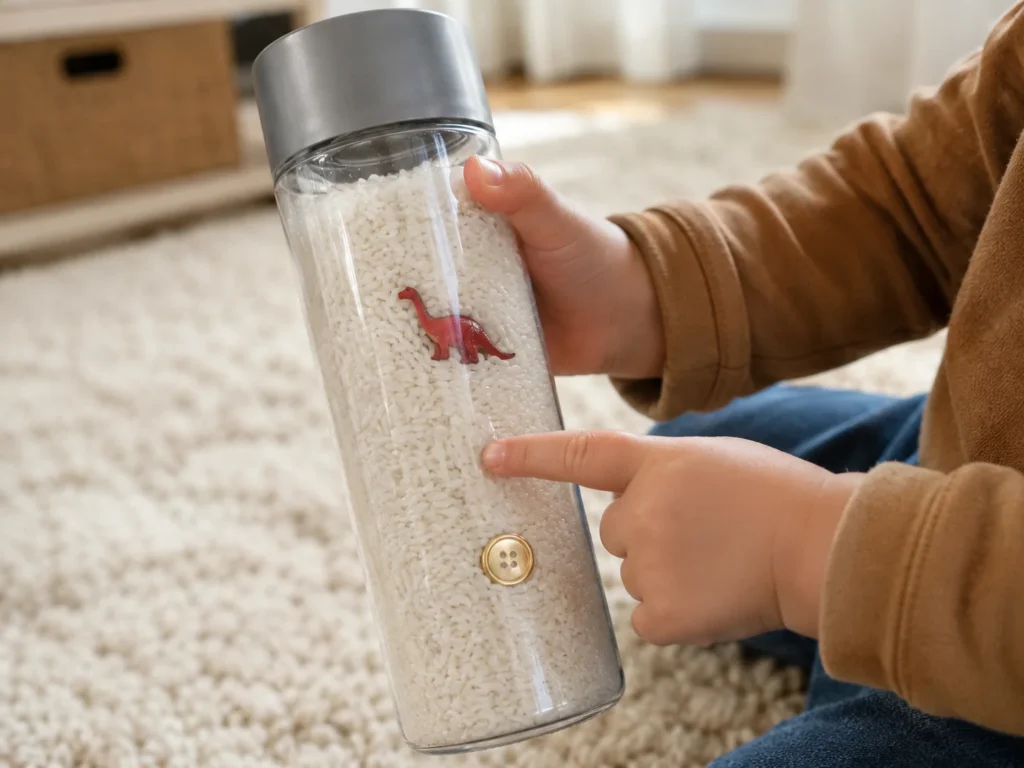
Fill the bottle three-quarters with plain dry rice, then drop in 8–10 small treasures: a button, a coin, a tiny dinosaur, a paperclip, a pom-pom. Glue the lid, then shake — the treasures hide and reappear as the rice shifts.
For toddlers closing in on three, this becomes a real game: “Can you find the dinosaur?” For younger ones, the rice makes a lovely rain-stick sound that’s weirdly soothing for everyone in the room.
This is also the cheapest bottle on the list — nearly everything can come from Dollar Tree, just like the fillers in my Dollar Tree sensory bins post. One bag of rice fills three bottles.
4. The Fireworks Bottle (Your July 4th Secret Weapon)

If your toddler is anywhere near fireworks this summer, make this one first. Red and blue glitter, silver star confetti, clear glue, water. It looks like fireworks in a bottle — without the boom.
Here’s the thing: fireworks are a lot for little nervous systems. The flashing, the crowds, the noise that arrives out of nowhere. Last Fourth of July, my daughter spent the grand finale buried in my shoulder. This year she’ll have her own “fireworks” to shake while the real ones go off — something predictable to hold onto when everything else is loud.
It doubles as table décor for your cookout, which feels like winning twice.
5. The Backyard Nature Bottle
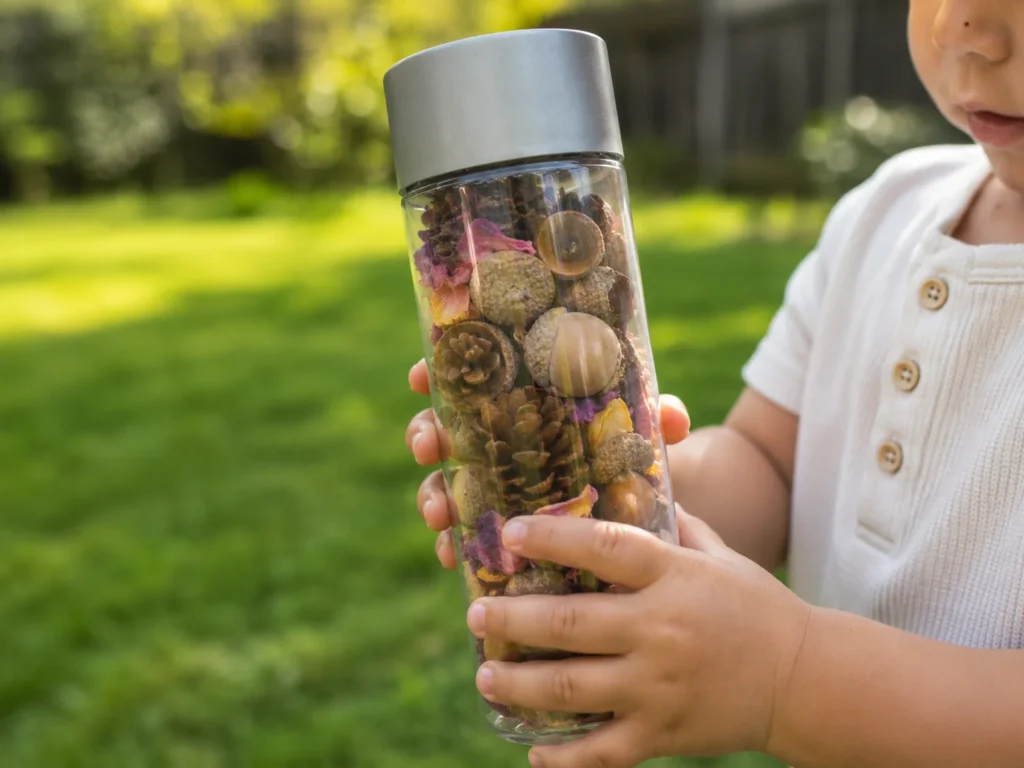
Take your toddler on a ten-minute walk and let them collect: small pinecones, acorns, flower petals, interesting pebbles. Drop the haul into a dry bottle (no water needed for this one), glue the lid, and you’ve got a shake-and-rattle discovery bottle made of their own treasures.
Toddlers are obsessed with things they found. The collecting walk is half the activity, and the bottle keeps tiny choke-risk treasures — looking at you, acorns — safely sealed where curious mouths can’t reach them.
Refresh it each season. Fall acorns, spring petals. It never gets old.
A Few Quick Safety Notes
- Glue every lid. Super glue or hot glue around the threads, every time. A determined toddler is stronger than any twist-top.
- Inspect before handing over. Plastic bottles get chewed and squeezed — check for cracks now and then, and retire any bottle that’s looking rough.
- Supervise the littlest ones. Sealed bottles are very safe, but anything in a baby’s hands deserves your eyes on it.
- Skip glass. Always. Even the pretty jars.
You’ve Got This
That’s the beautiful thing about DIY sensory bottles — ten minutes of assembly buys you months of calm-down tool, car entertainment, and quiet-time play, mostly from stuff already in your recycling bin.
Start with just one. The glitter calm-down bottle is the gateway, and once you see your little one go still watching that glitter fall, you’ll be saving every smooth bottle that enters your house. Welcome to the club — we have glue guns.
If you are looking for more fun ideas with your toddler, check out 9 easy dollar tree sensory bins for your toddler!